News
Wanhao D9 Build Tips 12
Build Tips: Wanhao D9
Issue : Z banding when printing objects at 45mm/sec when each layer is more than the time the slicer slows down the print speed. This is only visible on the Y axis. 
This can be due to the alignment of the Z carriage (Plate where there are 3 rollers per side)
Steps
Remove the extruder assemble as per building instructions.

Unplug X motor and end stop wire.

Remove the X carriage assembly


Notice the bolt holding the t-nut is loose. ½ turn loose from hand tight.
Mount the X axis back to the plates slowly tightening both sides equally. If the mount is loose on the tnut, turn the mount 1/8 at a time then re tighten


Do another test print with the same gcode.
Keep in mind to check all belts.
Align Z motor against the threaded z rods.
The alignment of the motors are often not centered on the Zrod. This will yield an uneven print on the Z axis. This is mostly visible on 90 degree wall but not visible on irregular shapes.

1. Loosen 4 (2.5mm) screws on the motor

2. Make sure that the screws on the lead screw nuts are secured. Move the Z axis all the way to the bottom.

3. Move the motor freely to align against the treaded rod. Slowly tighten the 4 screws in an X pattern

- DigitMakers Team
Can't Find What you looking for ? 3
Please enter it in this suggestion Mind Map and we will do our best to source it for you .
- Akshay Deep Singh
Wanhao Duplicator 9 Adjustment Process 50
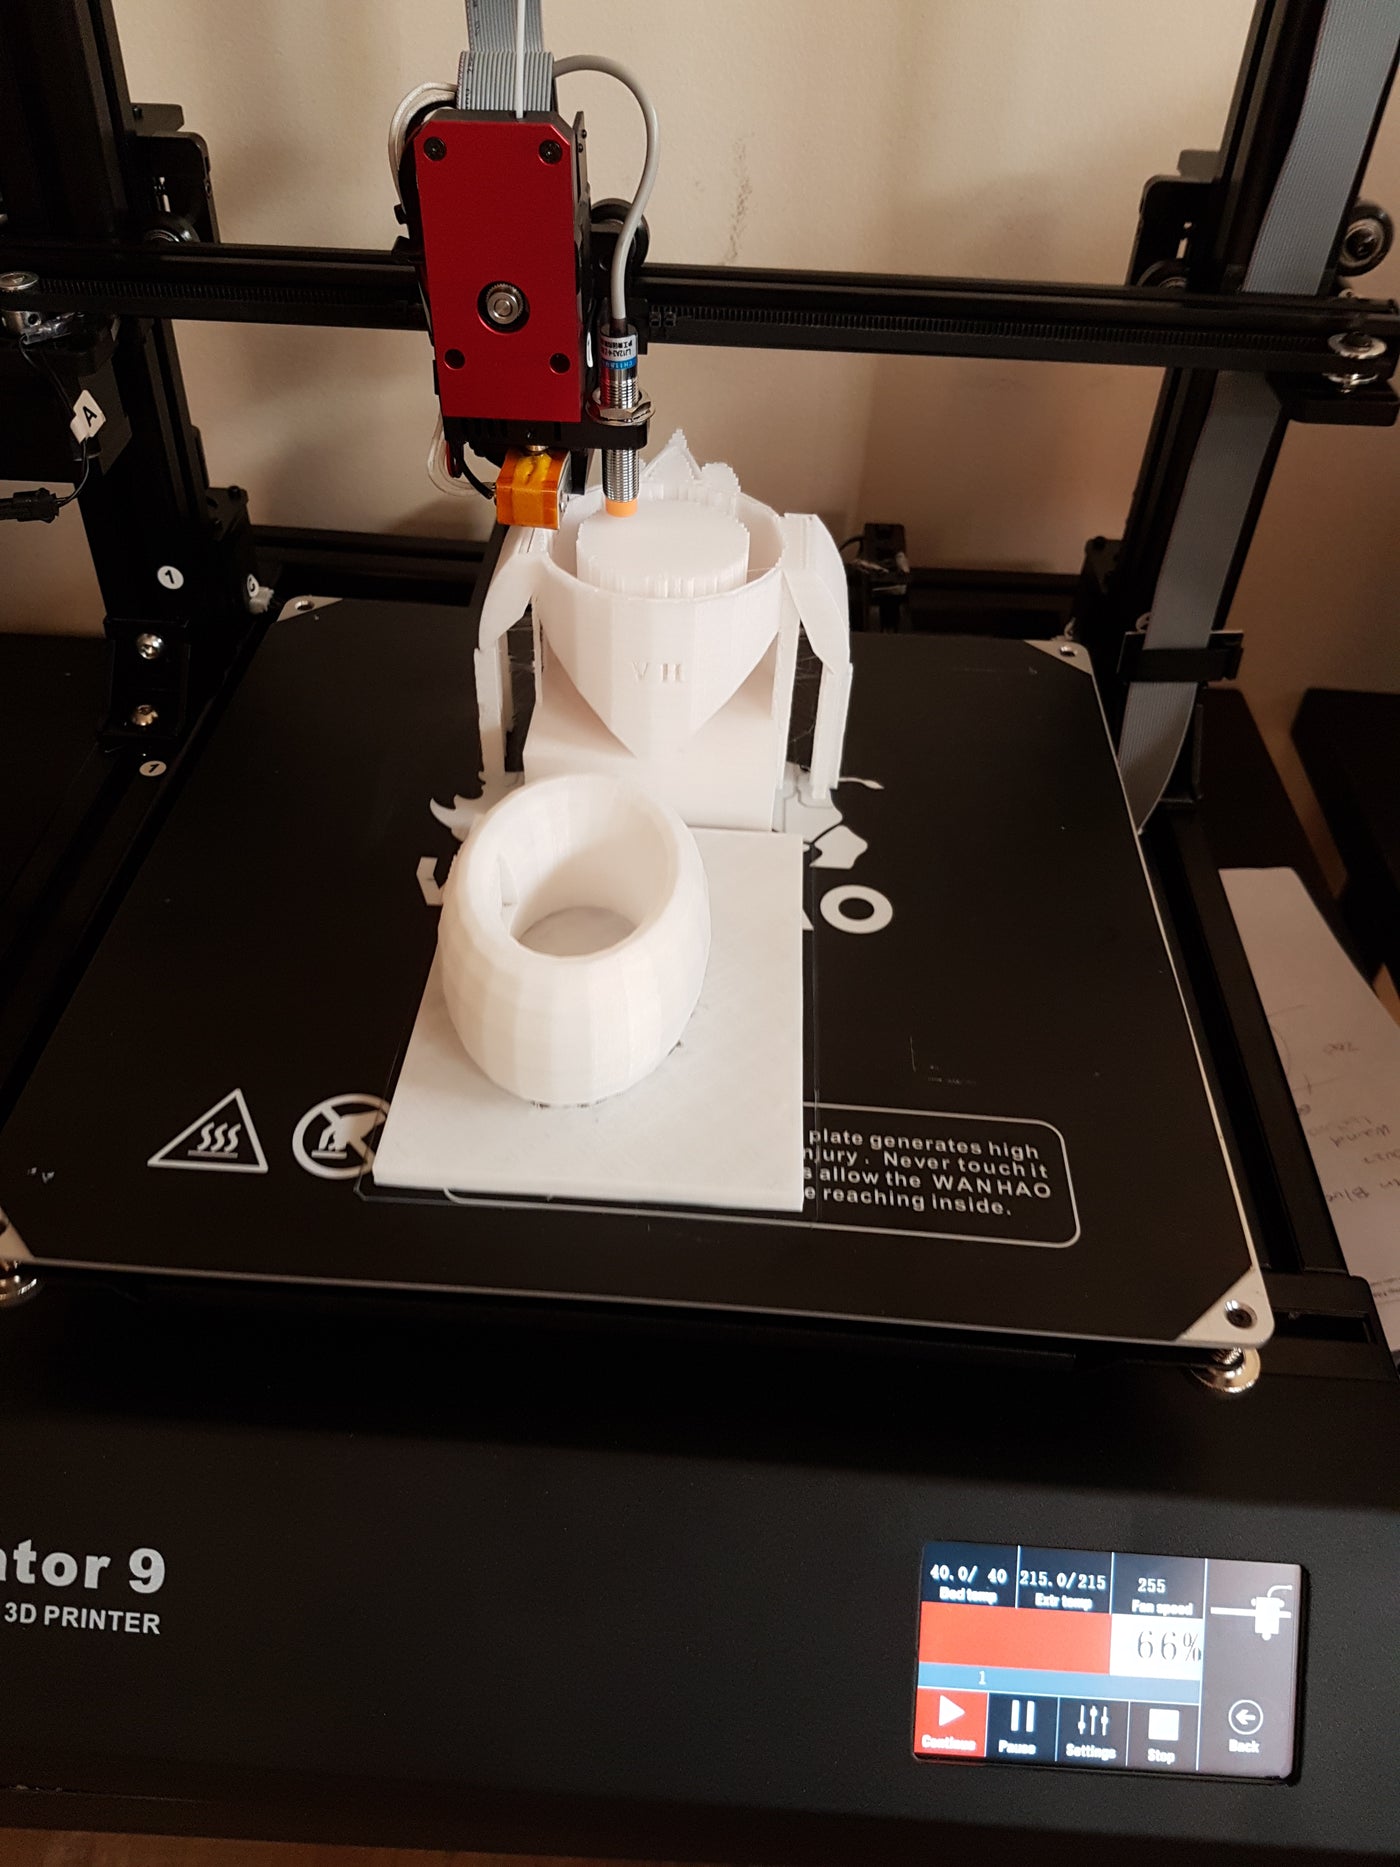
Wanhao Duplicator 9 has very rigid structure . During shipping the vslot wheels tension-er might get loose and result in prints finish issues .
In this post we will provide step by step guide on how to set the wanhao D9 to get great prints .
1- Check the the vslot wheels for the y, x and z axis by moving them sideways and see if they are loose or too tight the screw set --marked with arrows in Fig(1) --as required .
2- Loose the z axis lead screw nut by loosing the four screw marked below both sides . This way any binding in the z-axis will not affect the print quality (see Fig.(2))
3- Remove the tension springs off the belt and readjust the x-axis and y-axis belts as shown (Fig.3)
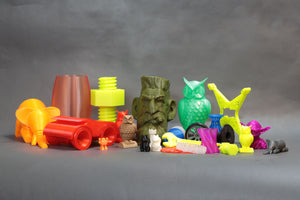
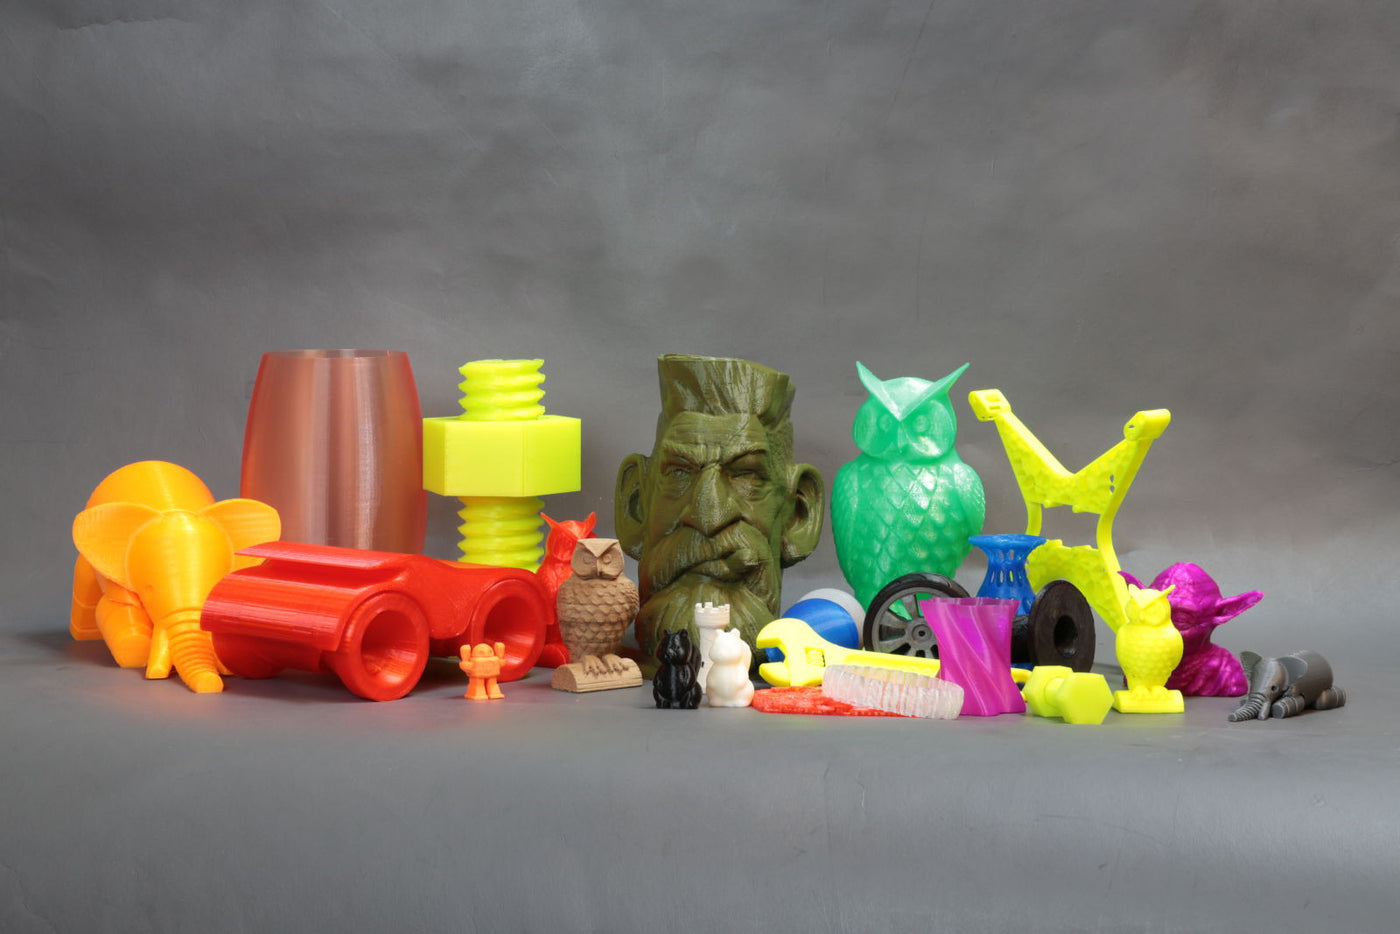
Our 3d printers makes amazing quality !
- DigitMakers Team
- Tags: D9 Duplicator 9 Wanhao
Print Quality Troubleshooting Guide 11

- Daniel D
DigitMakers Customer Work 0
Any Customer would like to share and promote for 3d printing service, please send it to DigitMakers@gmail.com and we will publish it for free.- Here is work from Chris using Flashforge Creator Pro
- Daniel D
- Tags: 3D Printer