
Browse our selection of 3D printer hotend replacements and upgrades.
Hotends
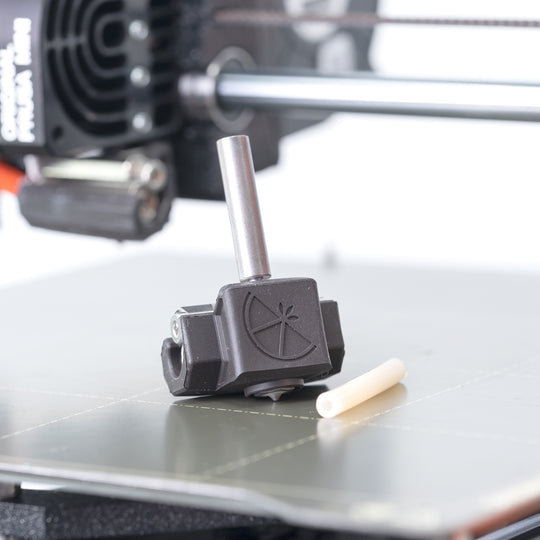

Slice Engineering Prusa MINI Upgrade Kit
$139.99
Hotend- Copperhead® It's time to unlock the full power of your Prusa MINI, with the ubiquitous Copperhead®. We've built a reputation for outfitting 3D printers with premium engineering-grade components that drastically improve performance. The result is less downtime, less wasted filament on failed prints, less tinkering, increased throughput, a...

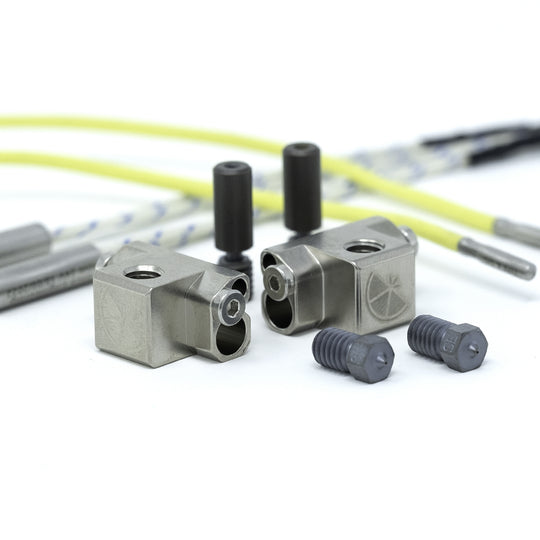
Slice Engineering Raise3D E2 Upgrade Bundle
$314.99
It's time to unlock the full power of your Raise3D E2, with the ubiquitous Copperhead®. We've built a reputation for outfitting 3D printers with premium engineering-grade components that drastically improve performance. The result is less downtime, less wasted filament on failed prints, less tinkering, increased throughput, and higher resolutio...

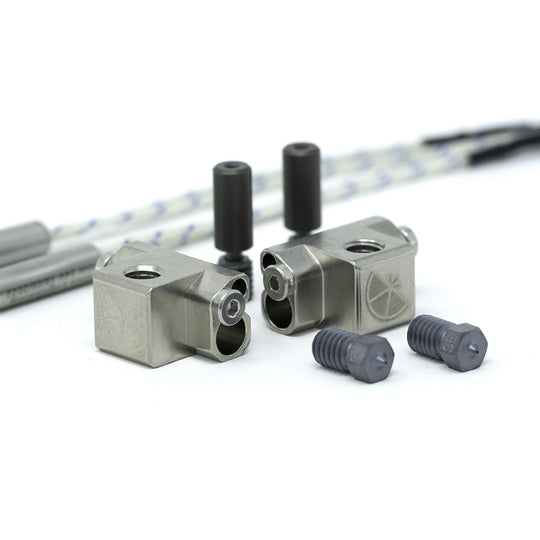
Slice Engineering Raise3D Pro2 Upgrade Bundle
$345.99
Hotend- Copperhead® It's time to unlock the full power of your Raise3D Pro2, with the ubiquitous Copperhead®. We've built a reputation for outfitting 3D printers with premium engineering-grade components that drastically improve performance. The result is less downtime, less wasted filament on failed prints, less tinkering, increased through...

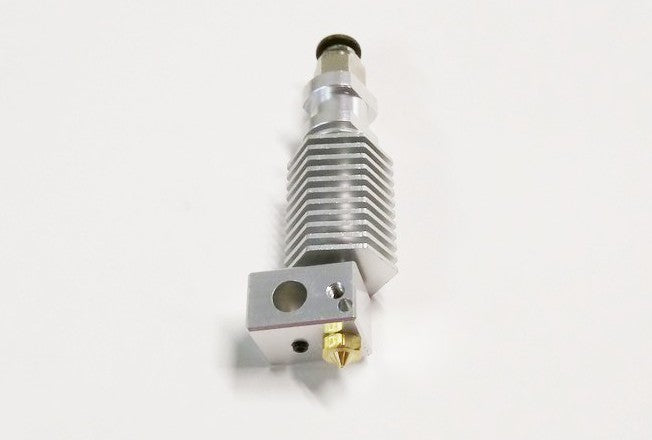
Wanhao i3 Mini Hot End Assembly by E3D
$7.99
This OEM Wanhao factory replacement is ONLY compatible with the i3 Mini 3D printer.